
On Future-Proofing Comcast Xfinity Cable Modems

I was reviewing the Comcast Xfinity "compatible cable modem" list in my area and I see that Comcast has started to organize their certified cable modems into four distinct quality categories:

  • Recommended Next-Gen Modems
  • Recommended Modems
  • Compatible Modems that are recommended
  • Compatible (but not specifically recommended) Modems

https://i5.walmartimages.com/asr/1aaeaaa4-9dd0-452d-8e0c-4857856685c2.00eb2e4561694386370beed8c6ce057a.jpeg
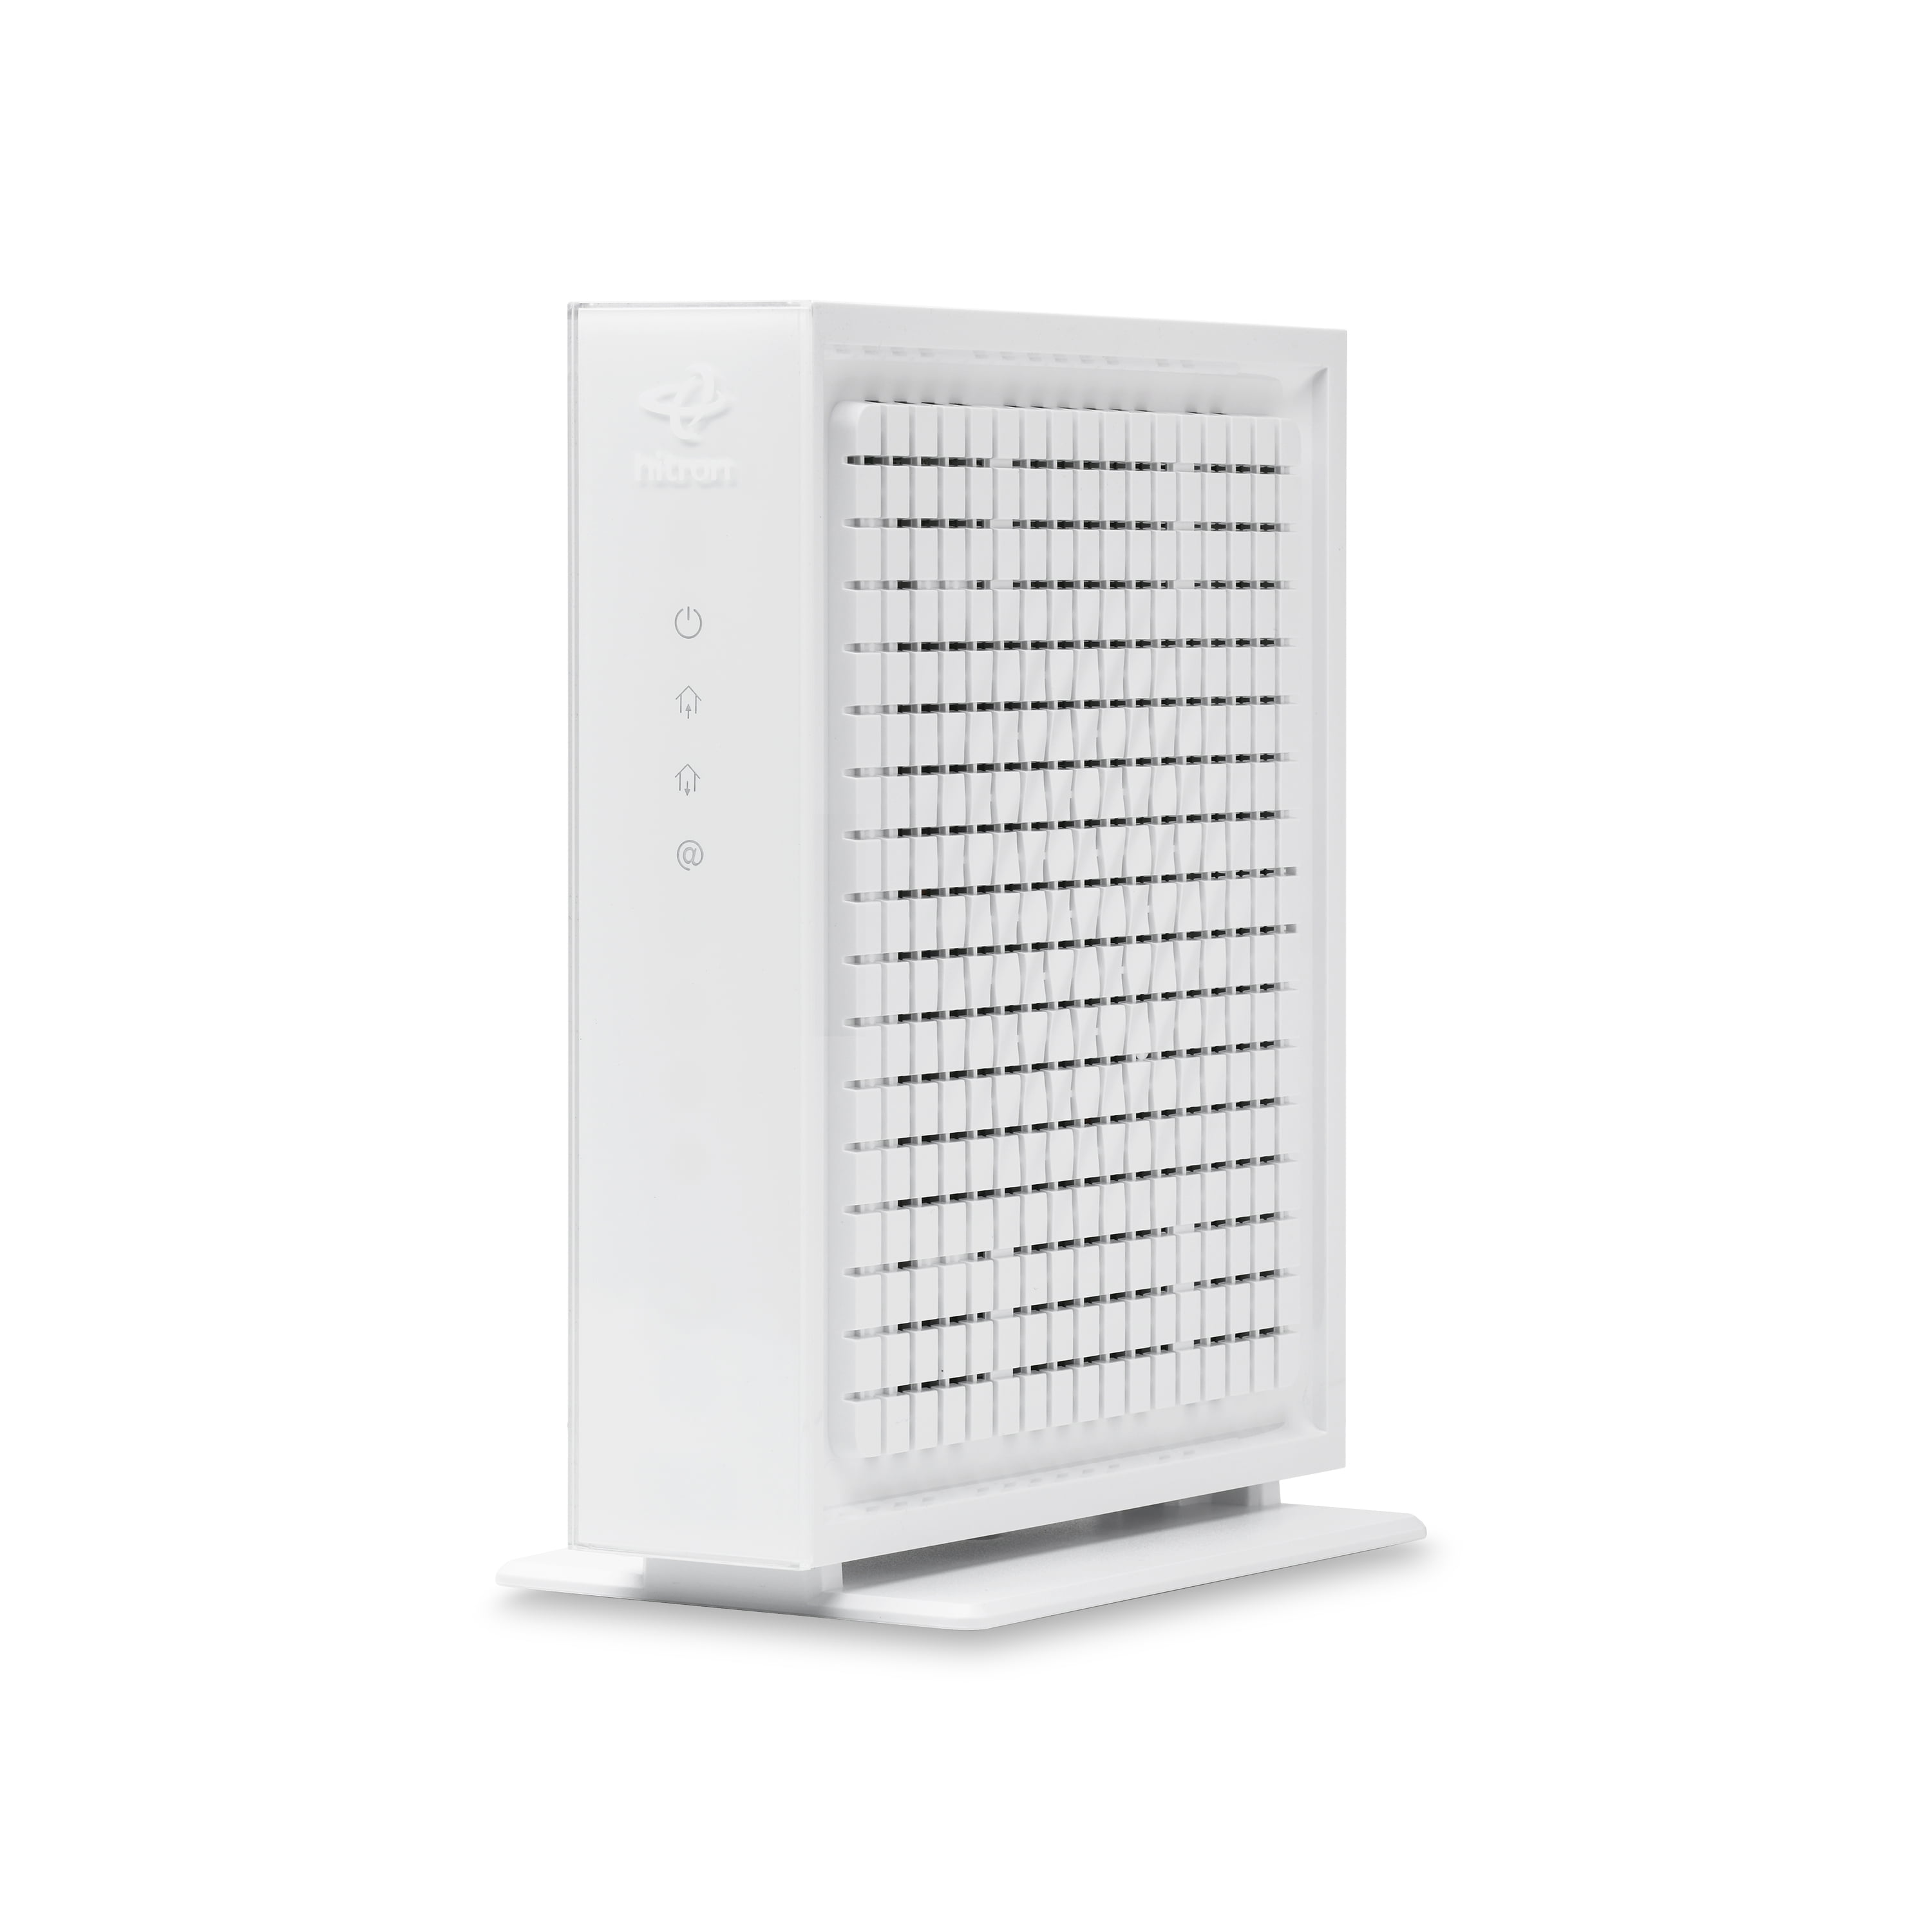
Hitron CODA56 cable modem

In terms of future proofing, it is clear that the "Recommended Next-Gen" category lists all the modems that Comcast prefers moving ahead, as the modems in this category all support the fastest high-speed upload performance. 

What I've read is that these most advanced "next-gen" modems support "mid-split" and "high-split" mode, allowing them to deliver higher speeds on modernized cable TV systems.  Of course not all cable systems are modernized - some might be decades old. 

Surprisingly, Comcast only lists two non-"voice telephone" models in the most advanced "next-gen" category:

... and that's it!  Only these two Hitron modems meets Comcast's golden "Next-Gen" modem mark.  No Arris, no Motorola, no TP-Link. Also surprising is that there are a grand total of zero Docsis 4.0 modems that make Comcast's list.  Zero.  That's a big surprise to me, because I've been a fan of the Arris modem line for well over a decade.

These Hitron modems support both Docsis 3.1 plus the much faster 450 Mbps upload speeds.  Obviously, the Hitron CODA with gigabit ports is restricted to a gigabit of throughput, whereas the CODA56 has dual 2.5 Gbit ports.

Discussion

I've been a steady Arris owner/user for years.  They've been simple and reliable for me, with no failures and no instability. Arris has been my go-to modem brand because they earned it. But when it comes time for me to upgrade, I will be seriously considering the Hitron lineup, because suddenly Arris looks to be behind the curve - at least from the Xfinity vantage point.

My larger concern about all this is that the DOCSIS cable modem industry may be fading.  There are numerous brands today, but there are many fewer modem chipsets, and there is a distinct lack of "next gen" modems on the market.

All this could be due to the limited future of coax cable. Coax is a contracting wiring strategy, as new deployments are increasingly optical fiber - as fiber is less expensive and has far more capacity.  As the millions of miles of 20 to 40 year old coax is retired, there will be less demand for DOCSIS cable modems.  It shouldn't be a surprise that manufacturers don't want to invest in a shrinking technology.

Conclusion

The Comcast modem list will likely change over time, and it may be different in your area. But for now, for Comcast / Xfinity customers, I suggest looking into these recommended Hitron modems, and give the Xfinity "Recommended Devices" list a look to make sure you are making the best choice for your service and locality.

Popular posts from this blog

Fixing a SodaStream Jet, part 1: Disassembly Guide

I've had my SodaStream Jet for years, and once in a while something has gone wrong. Disassembly is the first step to repair.  Start with this article to see how to disassemble the SodaStream, and then once you have that down, scroll through my other articles to see how I repaired specfic SodaStream problems. SodaStream Jet Disassembly Guide Tools Required Flat head screwdriver Phillips head screwdriver 1. Remove the Carbonator.  Duh. 2. Remove the black panel lever The front big black tilt lever needs to be removed first. Removing this panel is tricky, but it isn't impossible. Looking up at the bottom of the black panel, there are two tabs, one on the left and one on the right. These tabs fully secure the panel in place. The trick is to use a flat-head screwdriver under the plastic to gently lever the tabs out of the way.  Note in the pictures how I approach these tabs with my screwdriver.  I usually release the left side first, and then I release ...

Sodastream Carbonator Leakage, Usage, and Weight

SodaStream 60L "Carbonator" CO2 cylinders have a specific weight when empty, plus about 410 or so grams for the CO2 they should have when they're "full".  A little while ago I went to buy a replacement Carbonator from my local hardware store. The dealer pulled a new Carbonator out of the box and sensed it was lighter than usual.  He put the "light" Carbonator in the "empty" pile and sold me a different one.  At that moment I concluded that it would be smart of me to weigh both new and empty SodaStream carbonators.  Here are the results. Weighing a SodaStream Carbonator - for both Science and Consumer Protection.       The dealer told me that sometimes the carbonators leak after they leave the SodaStream filling facility.  That means there could be an opportunity for customers like me to get ripped off! The SodaStream cylinders I buy claim to have a net product weight of 410 grams - and that means that a full Soda Stream Carbonator shou...

Fix a Lightning Cable with Heat Shrink Tubing

We've all seen a Lightning cable that has started to fall apart.  They get used every day, and after enough tugs and yanks on your iPhone, they start to fray. I've seen a lot of these frayed cables, so I've started to fix them before they break with heat shrink tube.  I get my heat shrink on Amazon, like this handy and inexpensive pack.   I prefer the heat shrink tubes without internal glue - it has higher flexibility and a smaller outside diameter once shrunk. Heat Shrink Tubing on an Old, Frayed Lightning Cable In the photo here, you'll see that I slid on a 1.25 inch length of heat shrink over the lighting connector, and then shrunk it into place.  I chose a diameter that just barely fits over the lightning connector.  In all, it took about 60 seconds to perform this repair. Warning: the white plastic of the lightning cable has a pretty low melting point.  It seems to start to melt at about 125°C (or about 250°F), which is the same temperatur...

K4221C Photo Cell Adjustment

I just replaced a K4221 Photocell with a new one. The old photo cell failed in the "on" position, which is actually a great failure mode - I use the photocell to control indoor and outdoor lighting, and for safety reasons its important that it works.  So the lights being stuck "on" is a decent failure mode. But the photocell was stuck on for, um, many years.  I didn't really notice that there was a photocell, and was just accepting that the lights were on 24x365. Now with the photocell, my lights will be on roughly 16 hours a day. That saves a third off of my lighting bill.  In the scheme of things it will only save me a couple hundred bucks, but hey, rather I get it than OPEC. My photocell has a tough job.  It is to turn on necessary indoor and outdoor lighting when it starts to get dark outside.  But the challenge is that the photocell is positioned so it receives a lot of artificial light from the urban street, and it is unreasonably complex for me to...

Fujitsu S-Series Repair

The Patient: Fujitsu S-Series Laptop. The power connector of my S-Series Fujitsu laptop failed (a Lifebook S6110), just like so many others out there. I called up Fujitsu for repair; their local service center wanted about $80 just to look at the laptop (which obviously only needed a new connector). I concluded that it was silly for me to throw $80 at an estimate for repairing the power connector, so instead I went after repairing it myself.   Researching the problem.   At first I looked on the web for the right connector. After searching high and low, I found that the Asia Industrial Company appears to sell a very similar part, the DS-208 . Let me know if you contact them for this jack. I also saw a part for sale by a laptop power jack "repair" web site, but it didn't look like it would be mountable on my laptop's motherboard - the pins are in a different location, and I think it'd be very difficult to properly mount this part inside of my laptop.   Goi...

Connecting your MIDI keyboard to your Mac

MIDI and the Mac.  It's easy, fun, and shockingly inexpensive! I enjoy fooling around with musical instruments, and so when Garageband originally came out several years ago, I was very excited to start using it with my cheap little Casio keyboard. Initially it seemed expensive and complicated to get the right parts together to connect the Mac to my keyboard via MIDI. I didn't want to spend a ton of money in professional-class electronics. I wanted to fool around. Happily, I discovered that it's inexpensive and easy.  If you know where to look, a Mac-compliant MIDI adapter can be purchased for under $10! That's right, for less than $10 I connected my Mac to my MIDI keyboard and by MIDI drum kit. I bought an MIDI-to-USB interface, in particular, one like this really inexpensive USB MIDI Cable available through Amazon . The adapter is a simple device that has a MIDI "in"/"out" connectors on one end, and a USB connector on the other.  The adapt...

Other Posts

Show more